be bold
A logo is one of the most important parts of a business. It tells customers who you are and what you do, and it can be used to make your company memorable. A good logo should also reflect the personality or values of the company that created it. But how does one go about designing a logo? Well, this blog post will walk you through every step in the process!
You’ll need to identify the purpose of your logo, and its intended audience. What will this logo be used for? Will it be on a website or business cards only, or both? Who is going to see the design – men or women? Young adults or retirees? Business professionals or kids at school? The answers to these questions should guide you in determining what colors and imagery are appropriate. You may also want to take into account whether you’ll need more than one version of the logo (for example: with and without text).
Get together with others within your organization if possible; everyone can contribute ideas that can lead down unexpected paths. Write all ideas out so nothing gets lost, and keep in mind that you’re not trying to find the perfect design yet – just get down everything. Be sure to include any trends which are relevant at the moment, too!
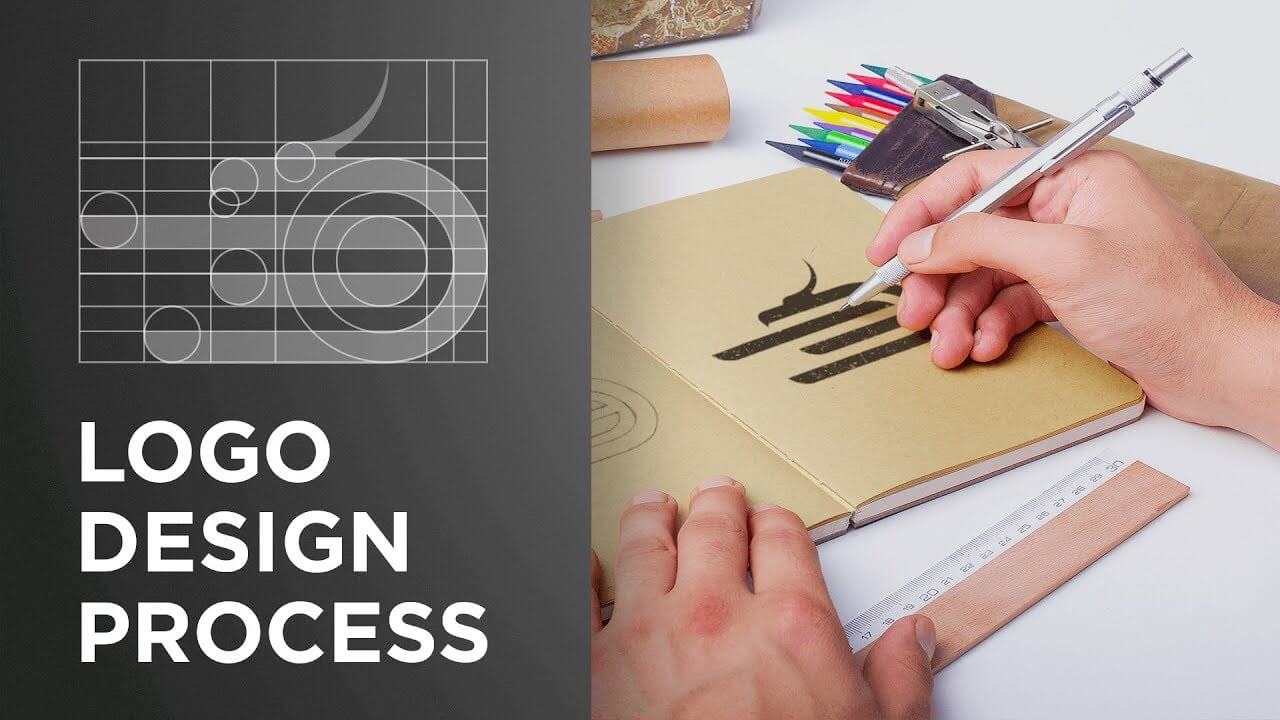
Once your initial ideas have been exhausted, move on to sketching. Start with simple drawings of what logos might look like using different colors or imagery; this will help you narrow things down later if need be. You can also try drawing letters in different styles (sans serif vs formal). Whatever works for getting those creative juices flowing is fine!
Now it’s time to choose sketches. Keep all of them around so they’re available when inspiration strikes again, but pick out a couple that seems promising to develop them further into finished products. Try adding some color, or experimenting with different imagery; you can even try putting your logo on a business card if it seems like the right fit.
Once you’re happy with one of the logos, give yourself enough time to work on it properly! You might want to hire an artist for this step – they’ll be able to take what you have and make something professional-looking out of it. If not, invest in high-quality software so that all changes are easy and smooth (such as Adobe Illustrator). Use images from stock libraries when possible instead of trying to create everything yourself – there’s no shame in using resources that will save time! Just keep working until everything looks perfect. When your target audience sees your logo design now, they should instantly think of your company!
Now that you have a logo, it’s time to use it on all sorts of things. Get some business cards made so customers can remember who you are, and try putting the design on letterheads or brochures for more professional correspondence with clients (just make sure people know they’re looking at a logo – most will assume something is wrong if there isn’t any text). Remember: logos aren’t just images, but powerful symbols which reinforce what your brand stands for. Incorporate them into everything from social media profiles to email signatures; by doing this you’ll strengthen their overall impact in addition to making everyday tasks easier.
You’ve designed an amazing new logo using our step-by-step guide! We hope you’ve found it useful; if so, please share with others! If you are looking for top-quality, out-of-the-box branding services, get in touch with us today!